5 Steps To Create Engaging Medical Graphics
This is a brief “Show Your Work” post showing how I create the visuals and illustrations for this page and my book summaries. For example, I will use the “Emergency Medicine Guidebook” illustration to walk through how it was created. Here is the final image:

What software do I use?
To build this illustration, I use Adobe Illustrator. It can be downloaded as a free trial from the Adobe website:
Adobe Illustrator: Link
Where do I get my starting resources?
The resource that I use the most to search for starting illustrations is Envato Market. This website has a ton of resources for creative projects, including illustrations, icons, graphic templates, photoshop templates, and even presentation (PowerPoint and Google Slides) templates. If you’re interested in checking it out yourself, I’ll add the link below:
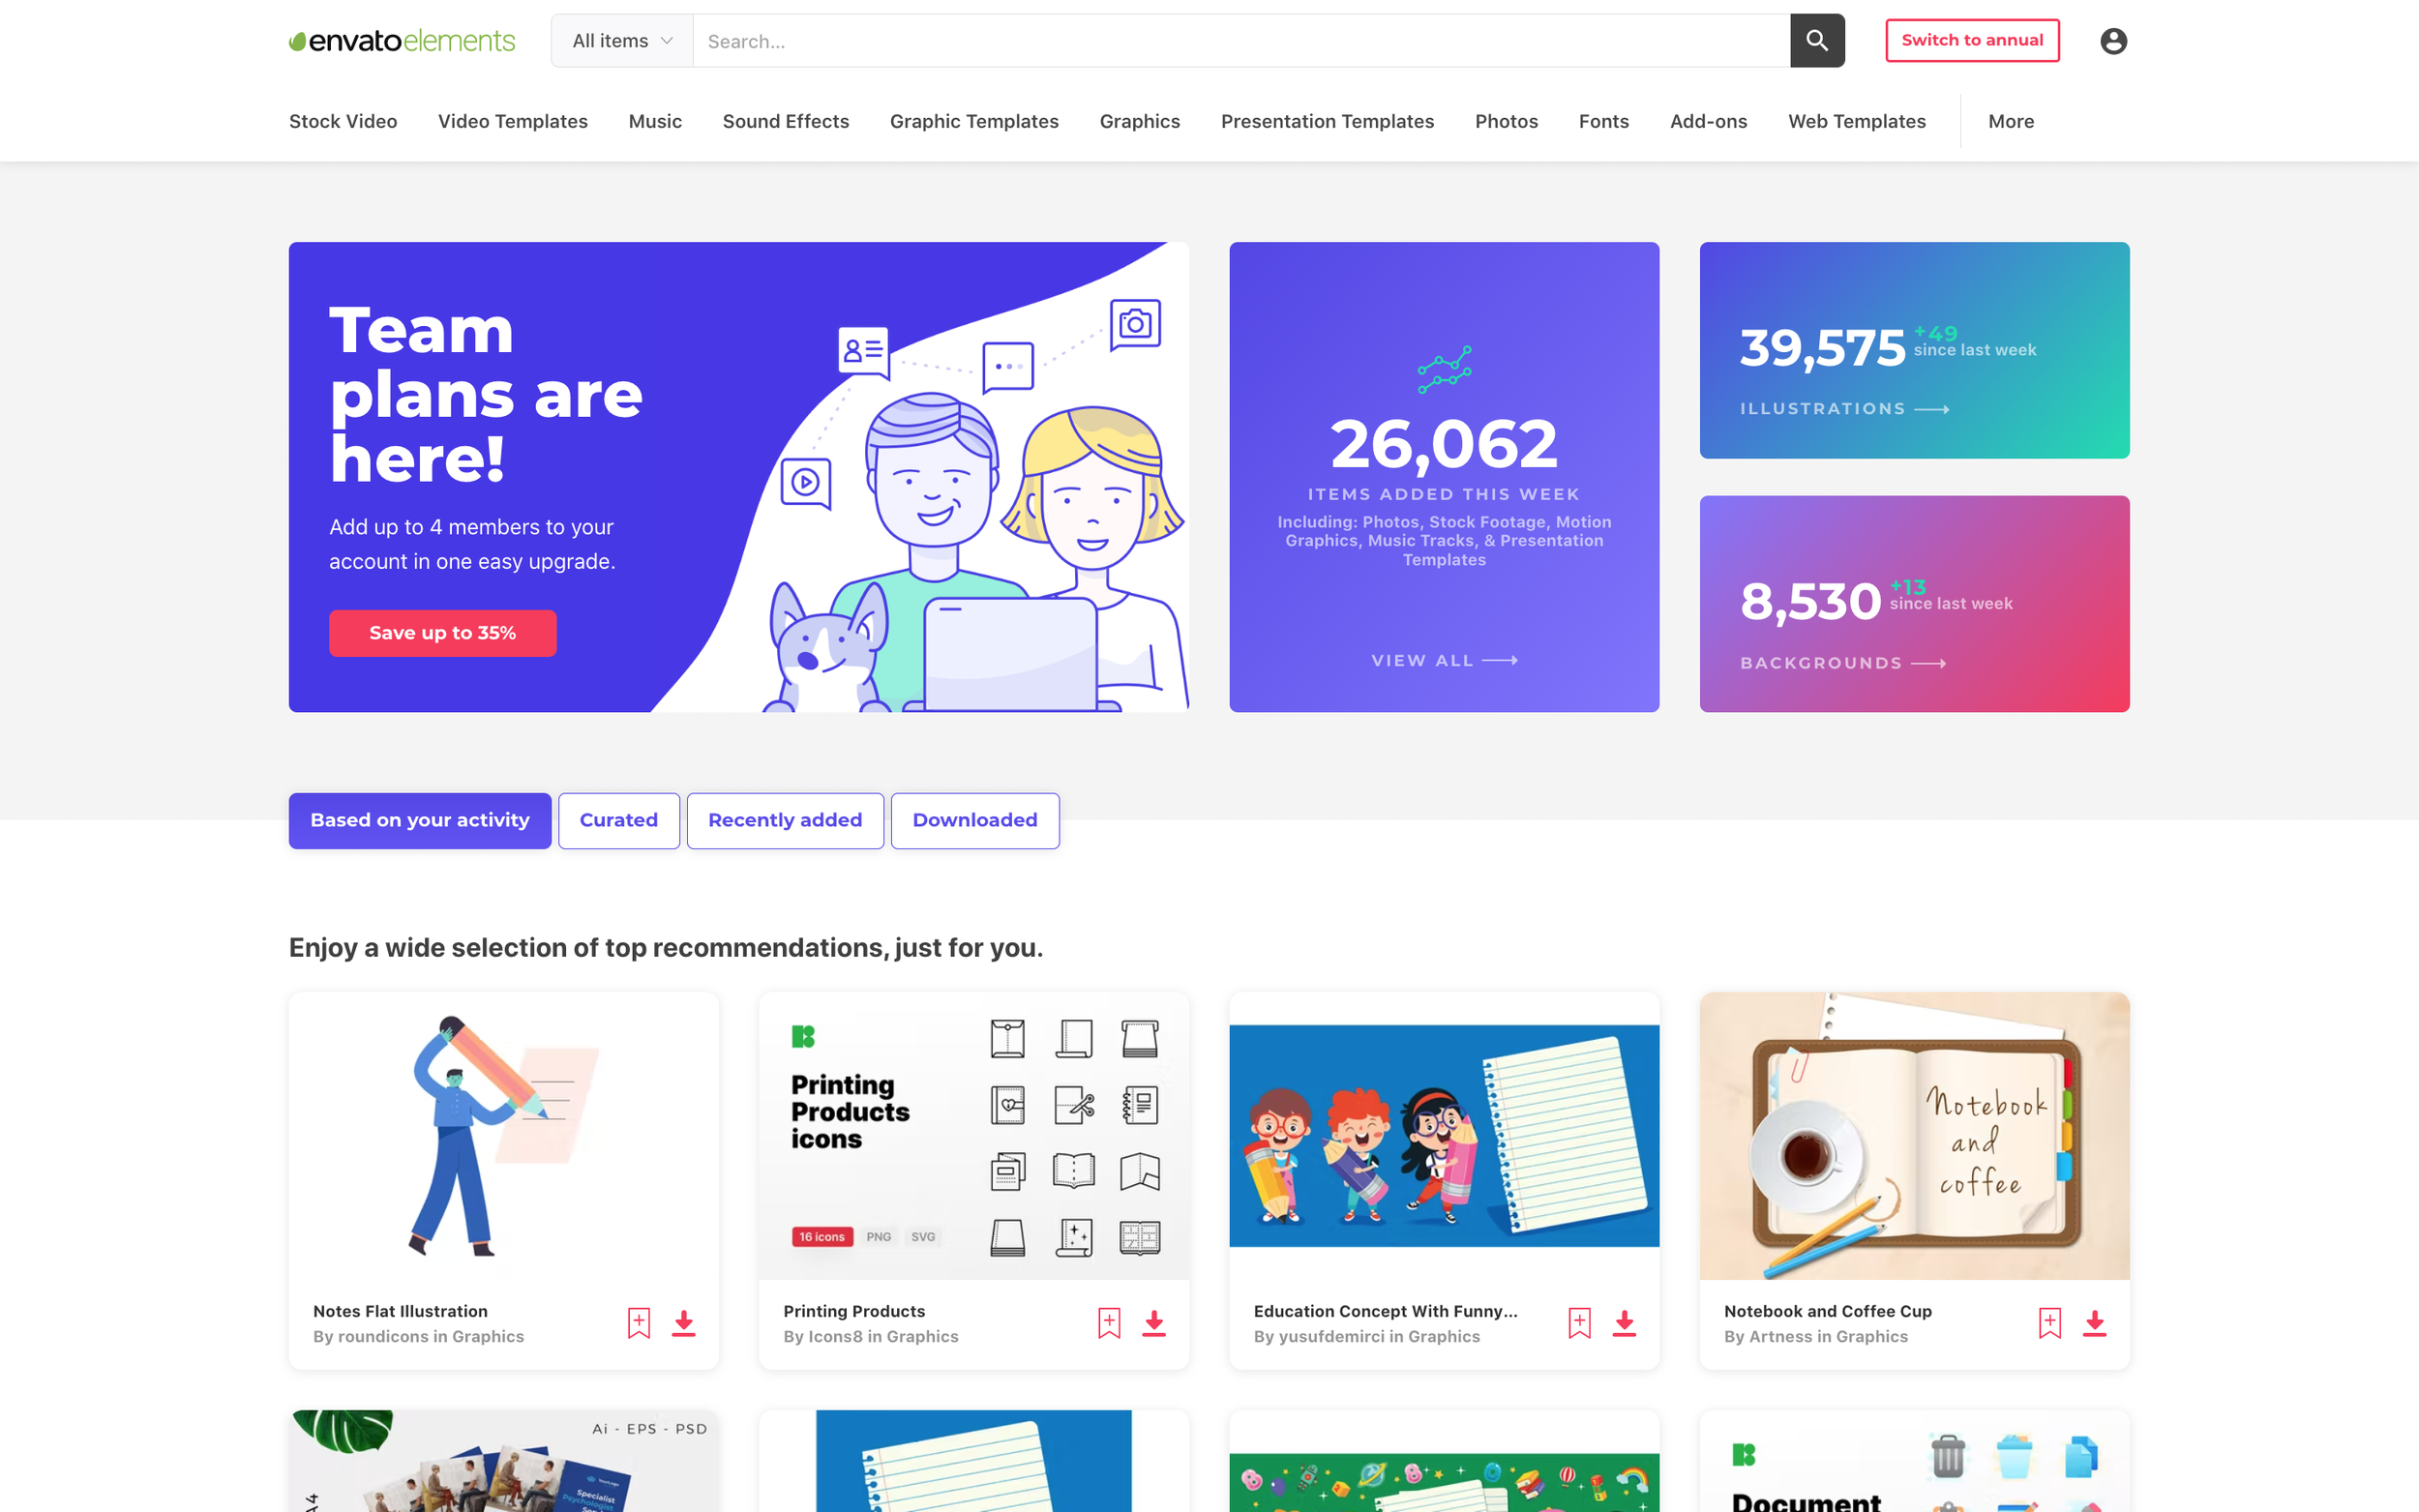
Envato Elements Illustations: Link
(I’m not paid anything to share this link, I just find their resources incredibly helpful and wish I would’ve known about this website years ago)
searching for illustrations
First I start by searching by topic or image that I am looking for. To create the guidebook image, I searched first for “Guidebook” and then “Map” and ultimately found this one:

Next I wanted to add some medical icons and images, and had a visual in mind to remove the hands, keep the map, and then add in some background medical icons. After some searching for medical icons and illustrations, I eventually found this one:

Next, I brought opened both .eps files in Adobe Illustrator. At the moment I am just using a free trial version, but I am hoping to purchase a subscription for this sometime in the near future as I keep creating.
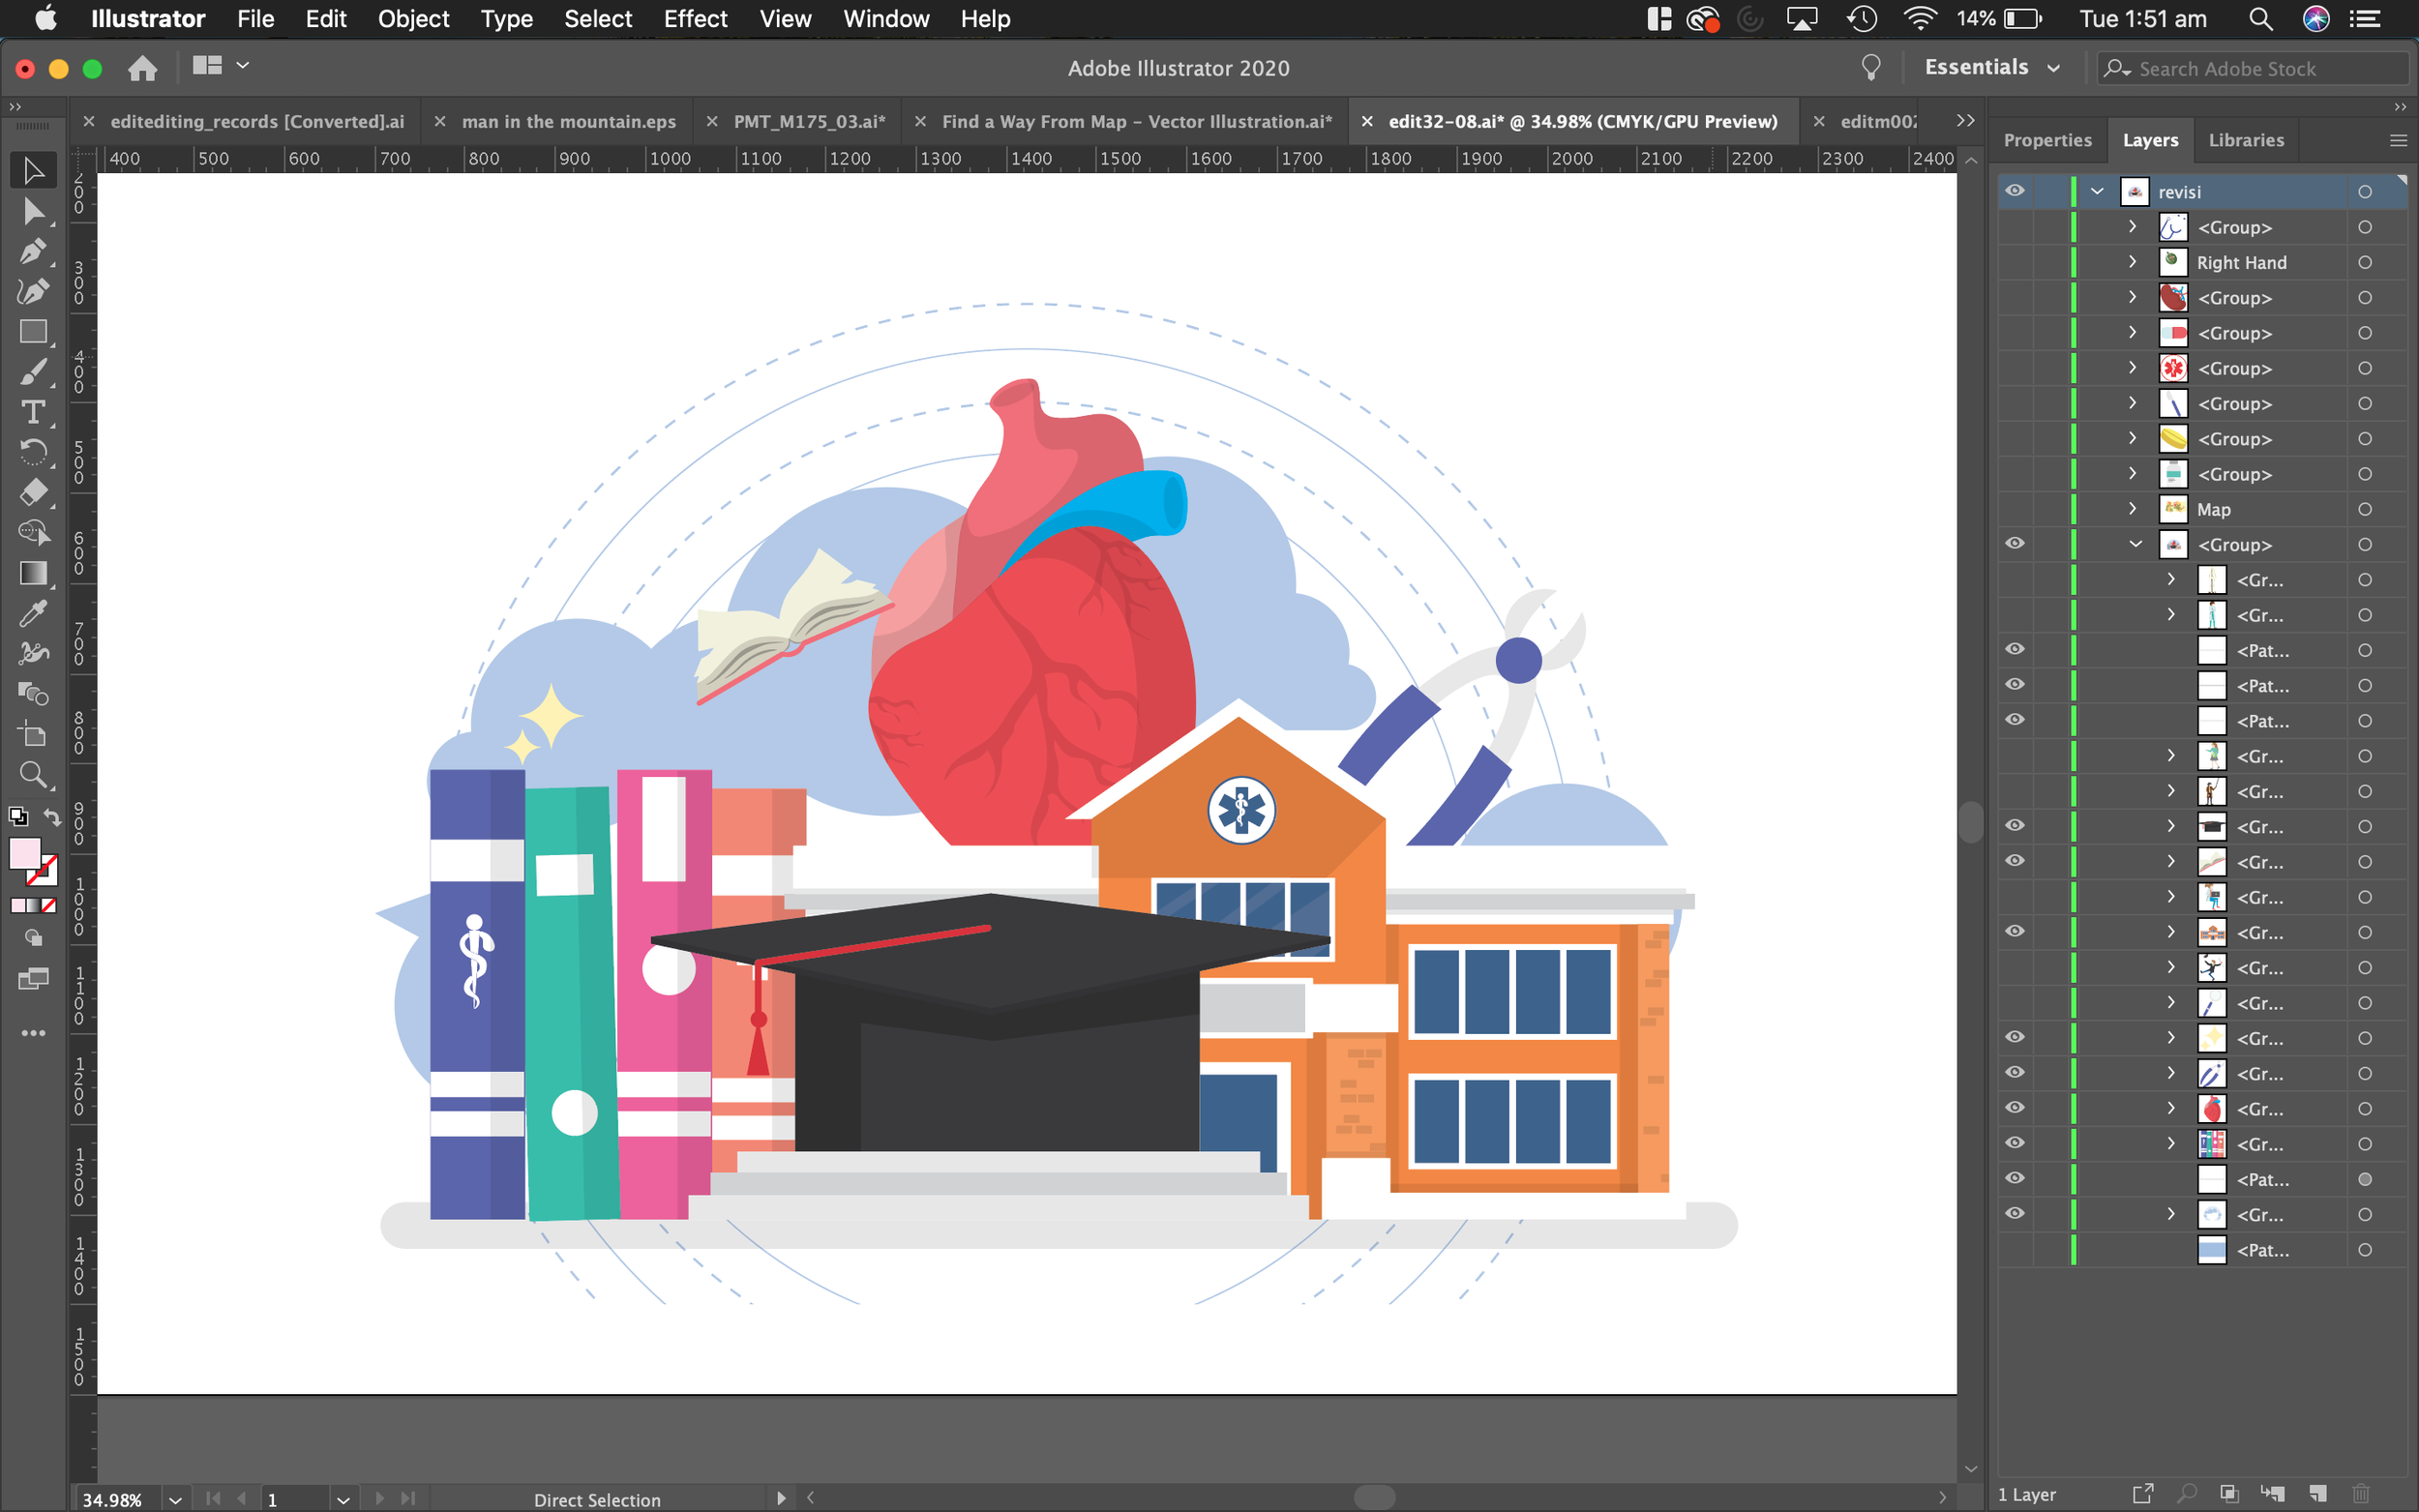
Cleaning up the images
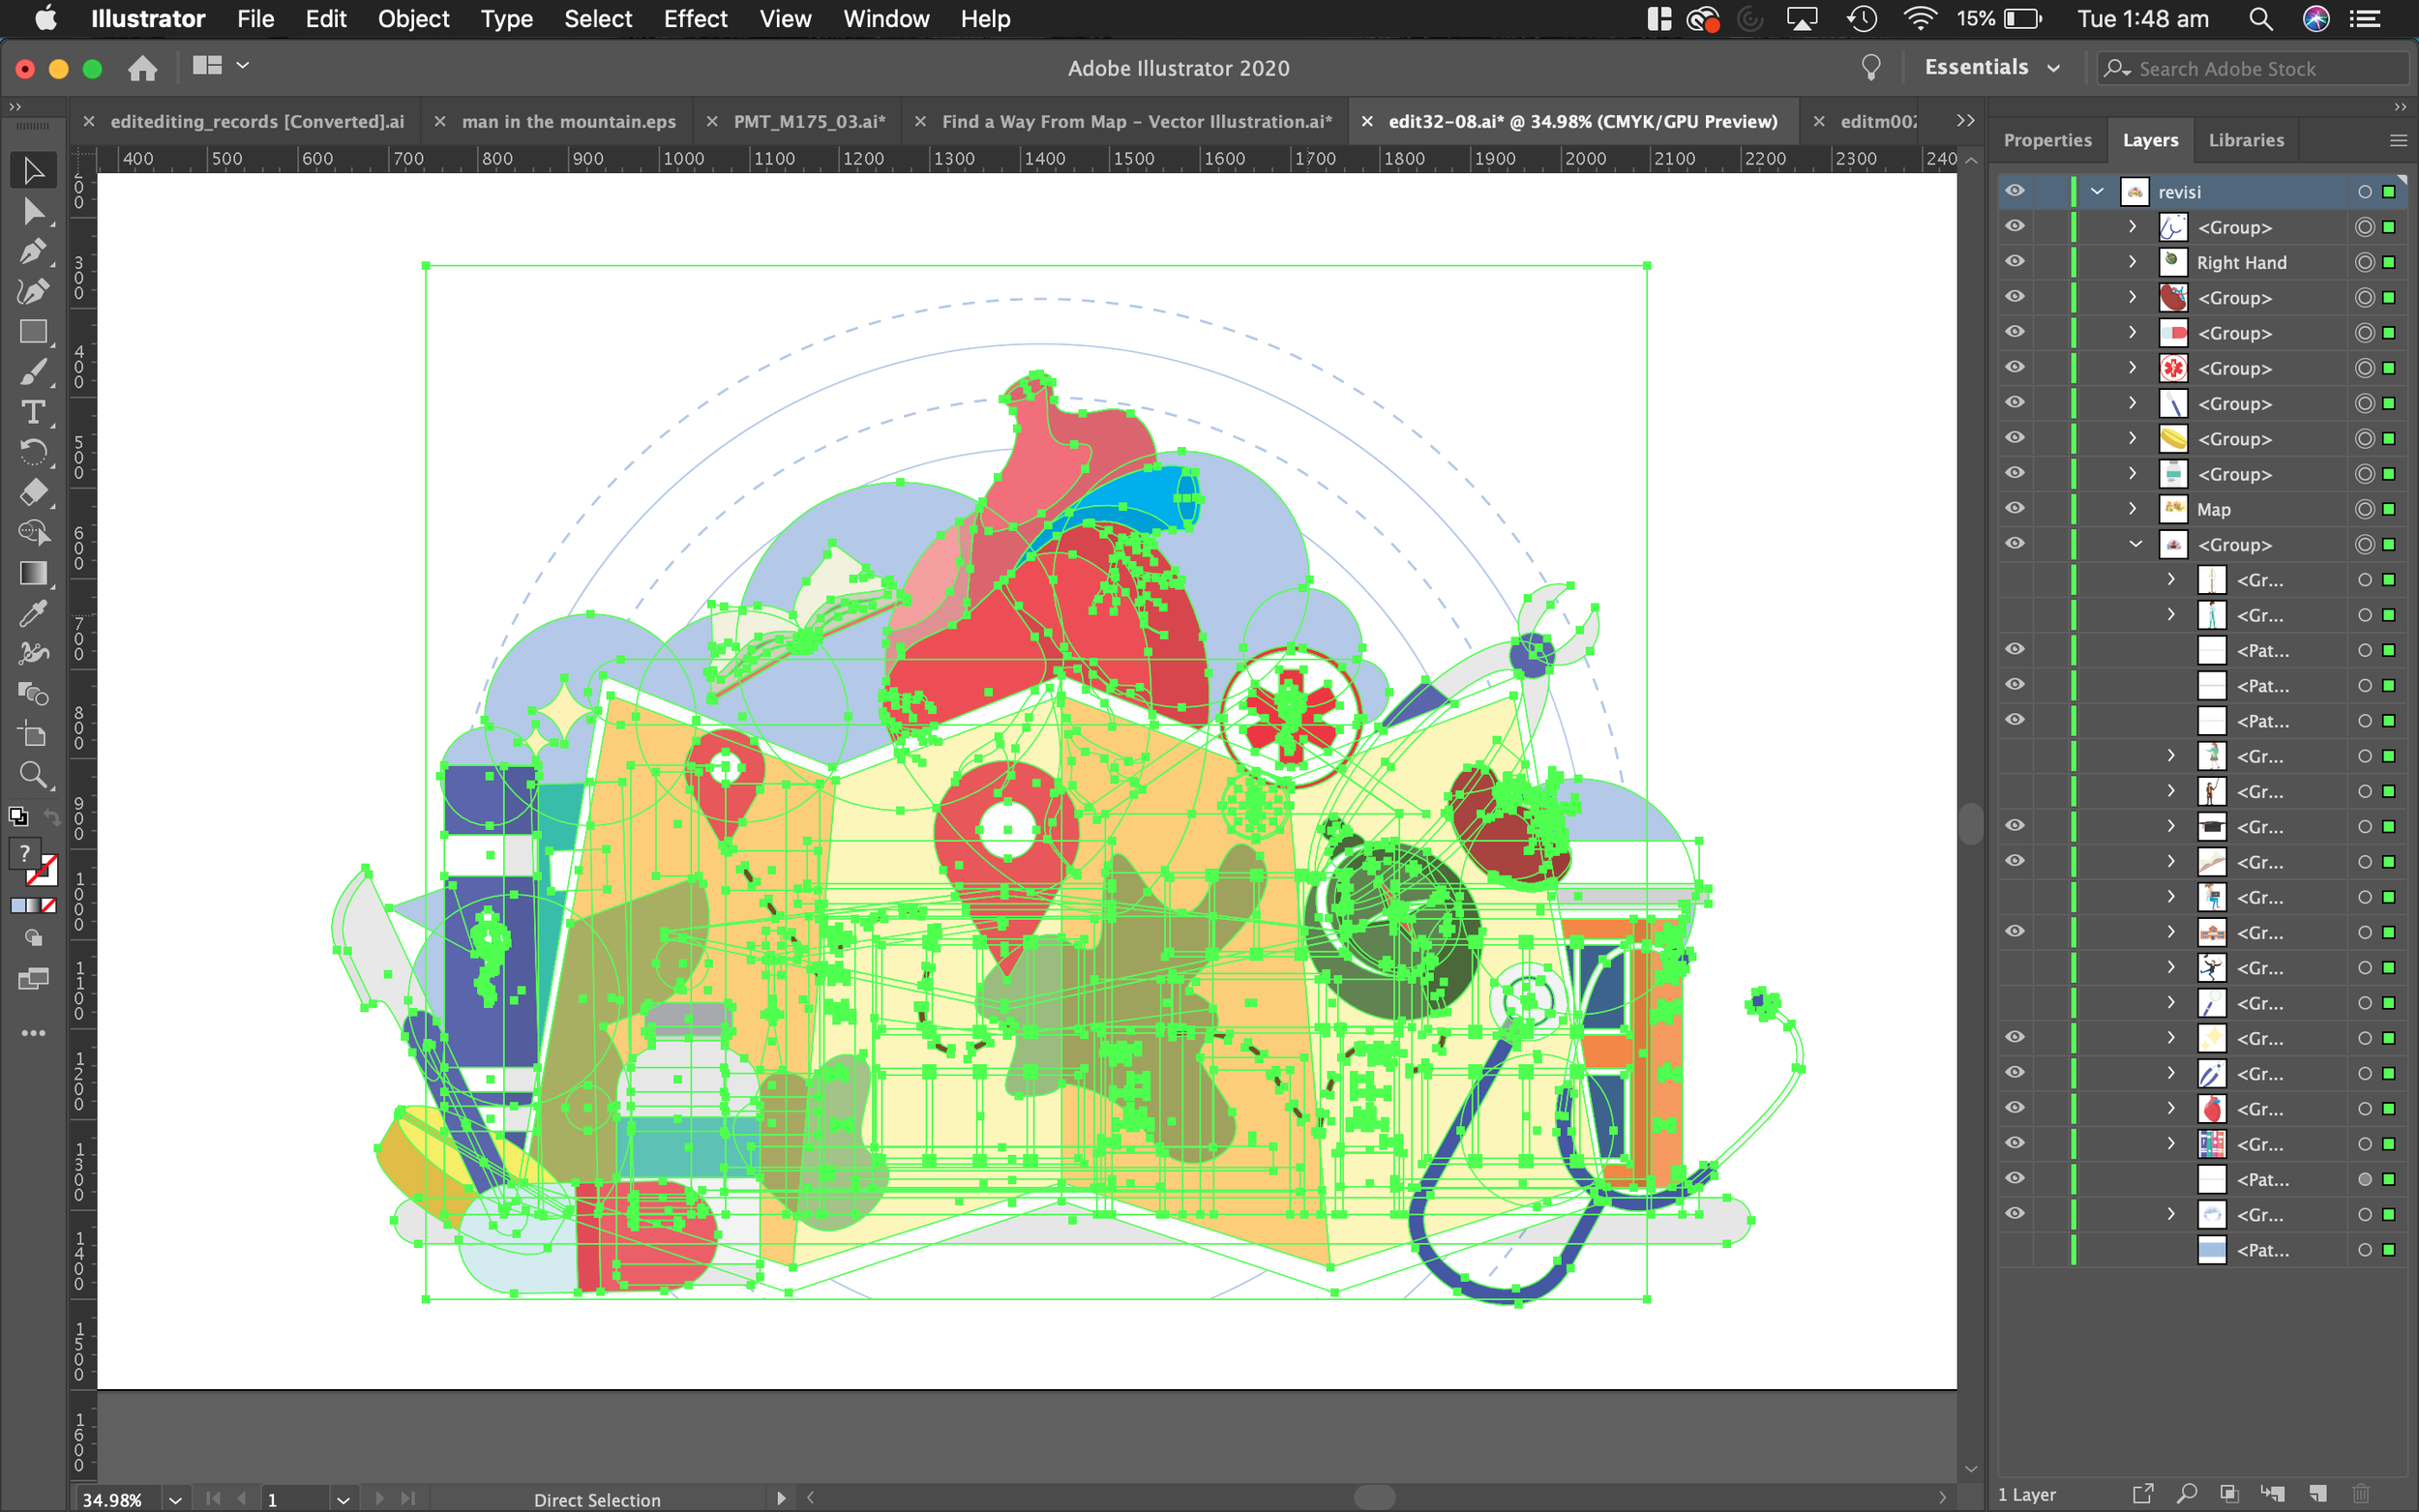
The first step was to remove the background layers of the map image. Sometimes these layers are grouped nicely and easy to remove, and in other cases you have to click on each layer one-by-one, which can take some time. This one was about 6-8 layer groups, so it wasn’t too bad.

Next I cleaned up the medical image, and clicked the “hide” button on some of the accessories that I wanted to keep, but wanted to bring them back later. These were the stethoscope, kidney, scalpel, medication bottle, medical icon, and textbook.
Combining Layers
Next I copied the map illustration layers from the other file, and pasted it over the top of our medical illustration image.
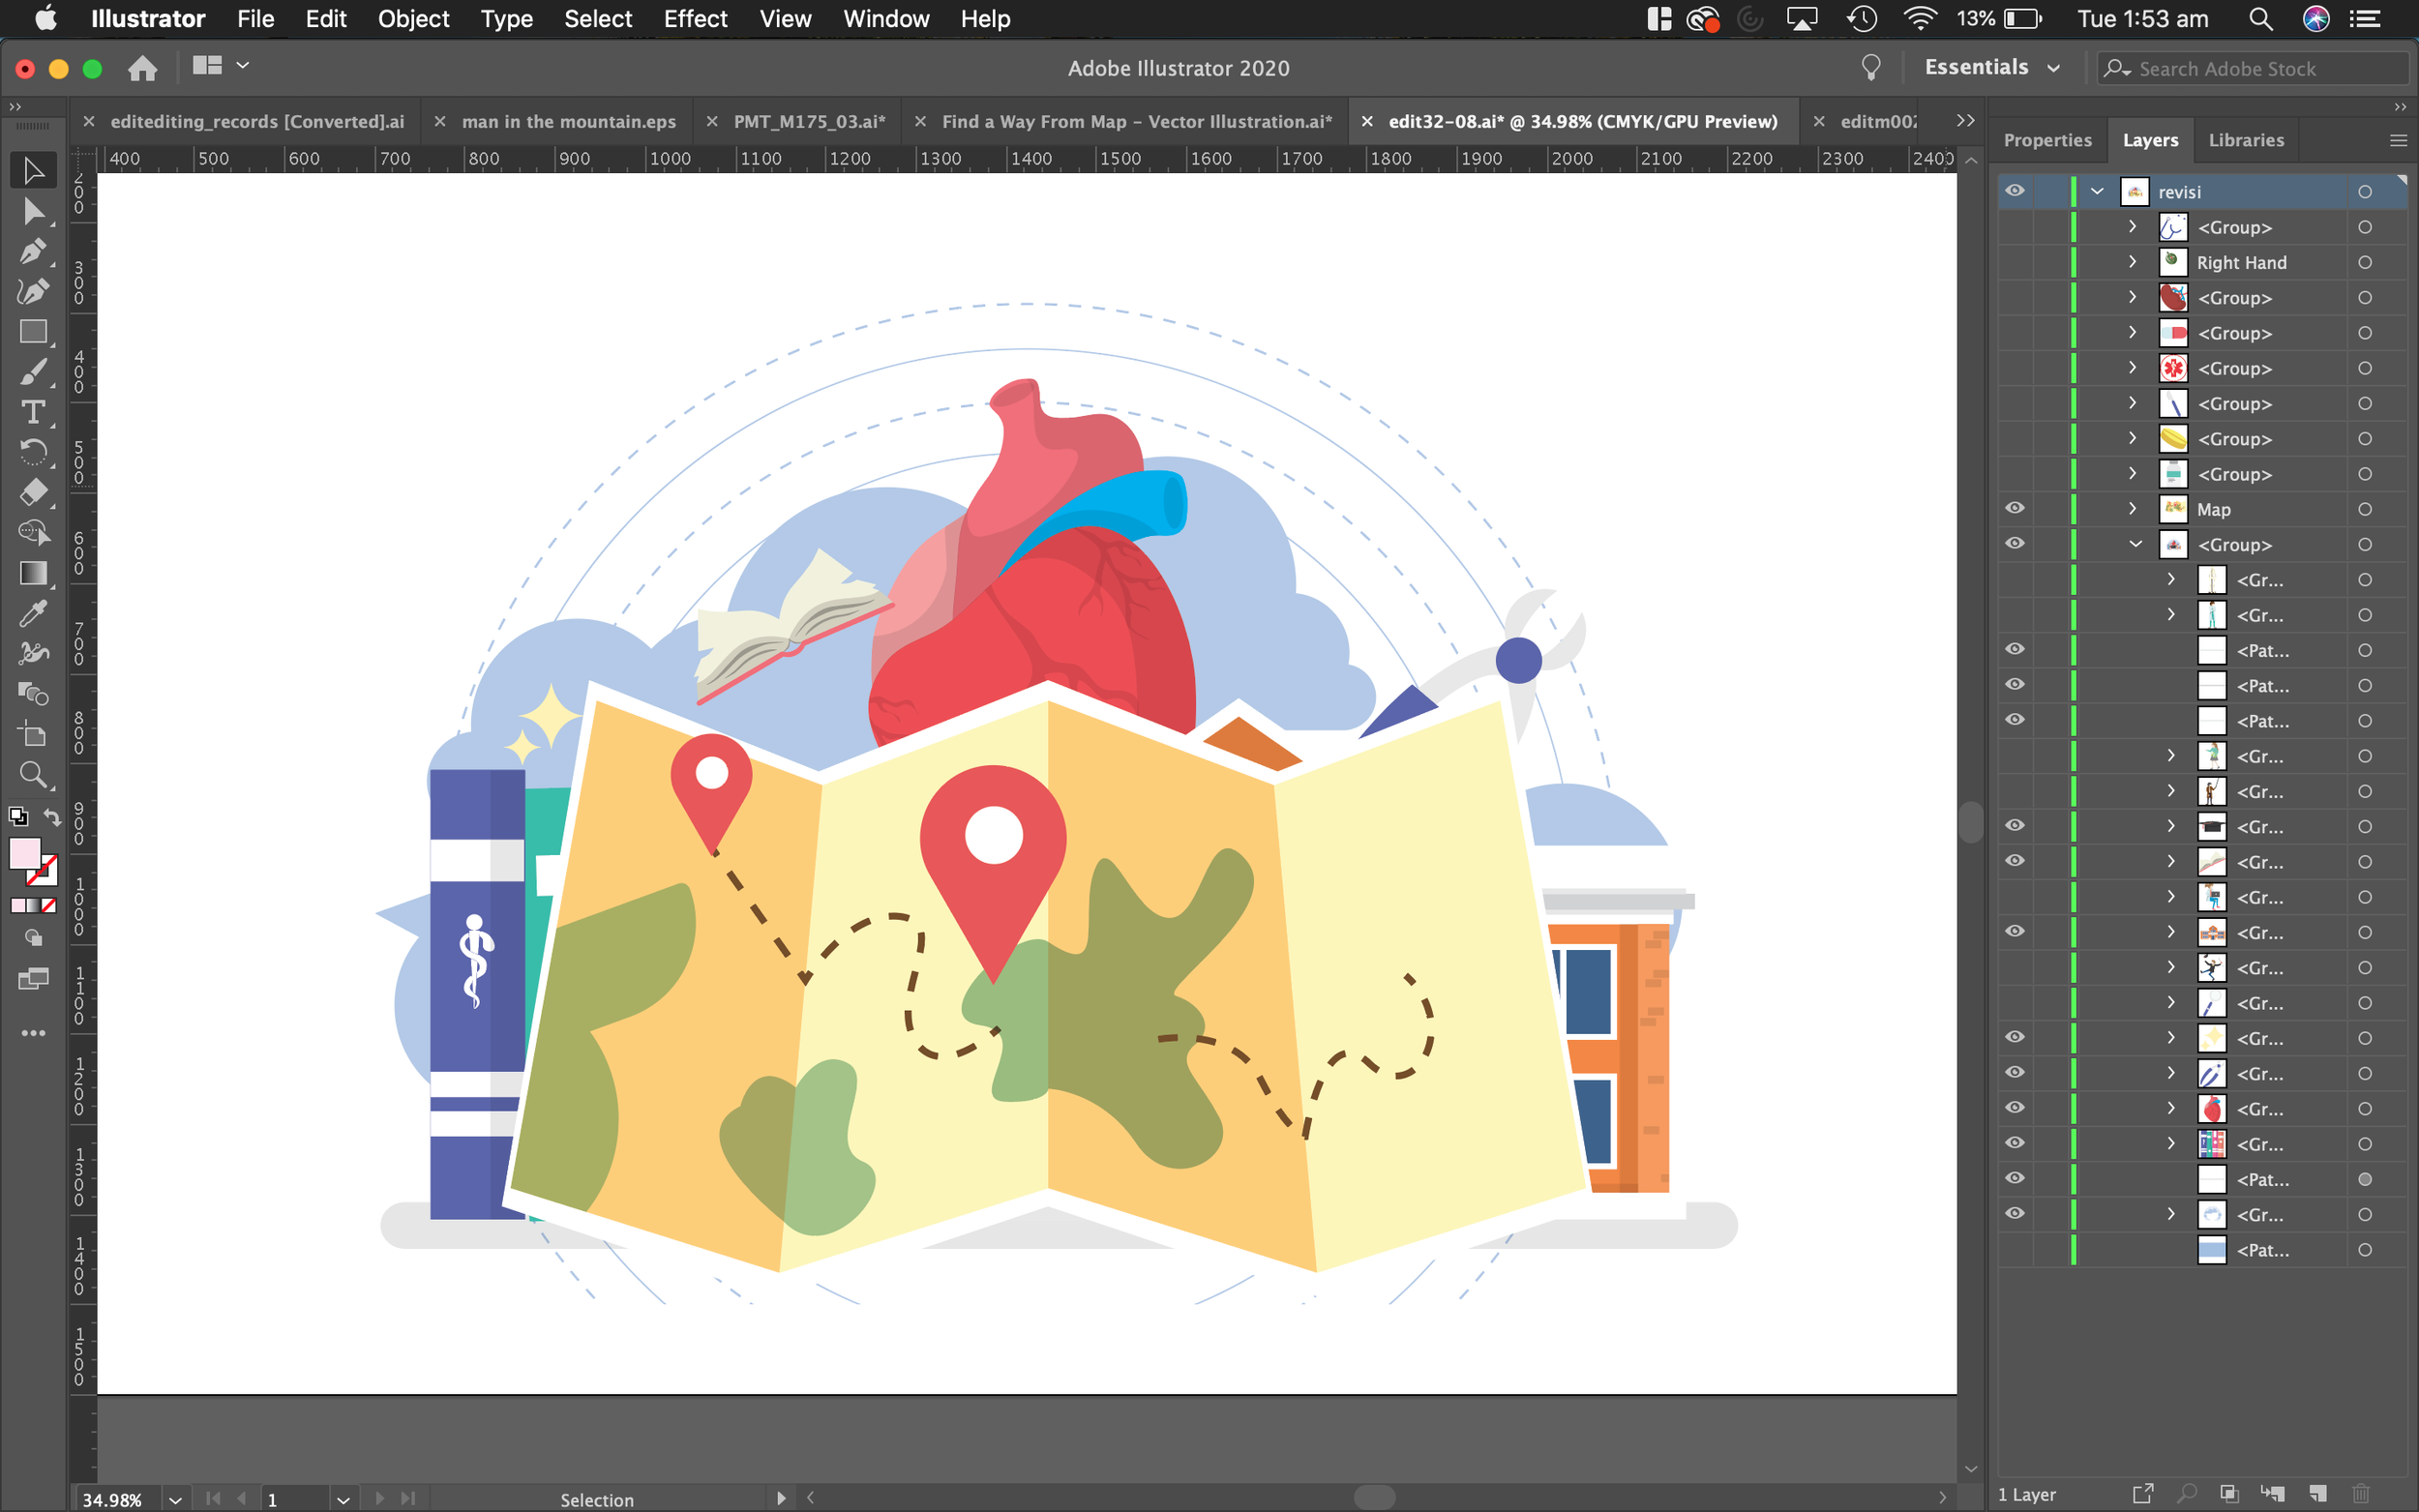
Rearranging vector groups
Next I relocated the stethoscope, kidney, scalpel, medication bottle, medical icon, and textbook back into the frame, and brought them to the front of the other layers so that they would sit on top of the map layer.
recolor details
After this, I selected the landscape shapes on the map, and changed the color to green so that it gave more of a wilderness/outdoors map feel. To do this, you just select each shape, and then go to Edit -> Edit Colors -> Recolor Artwork.
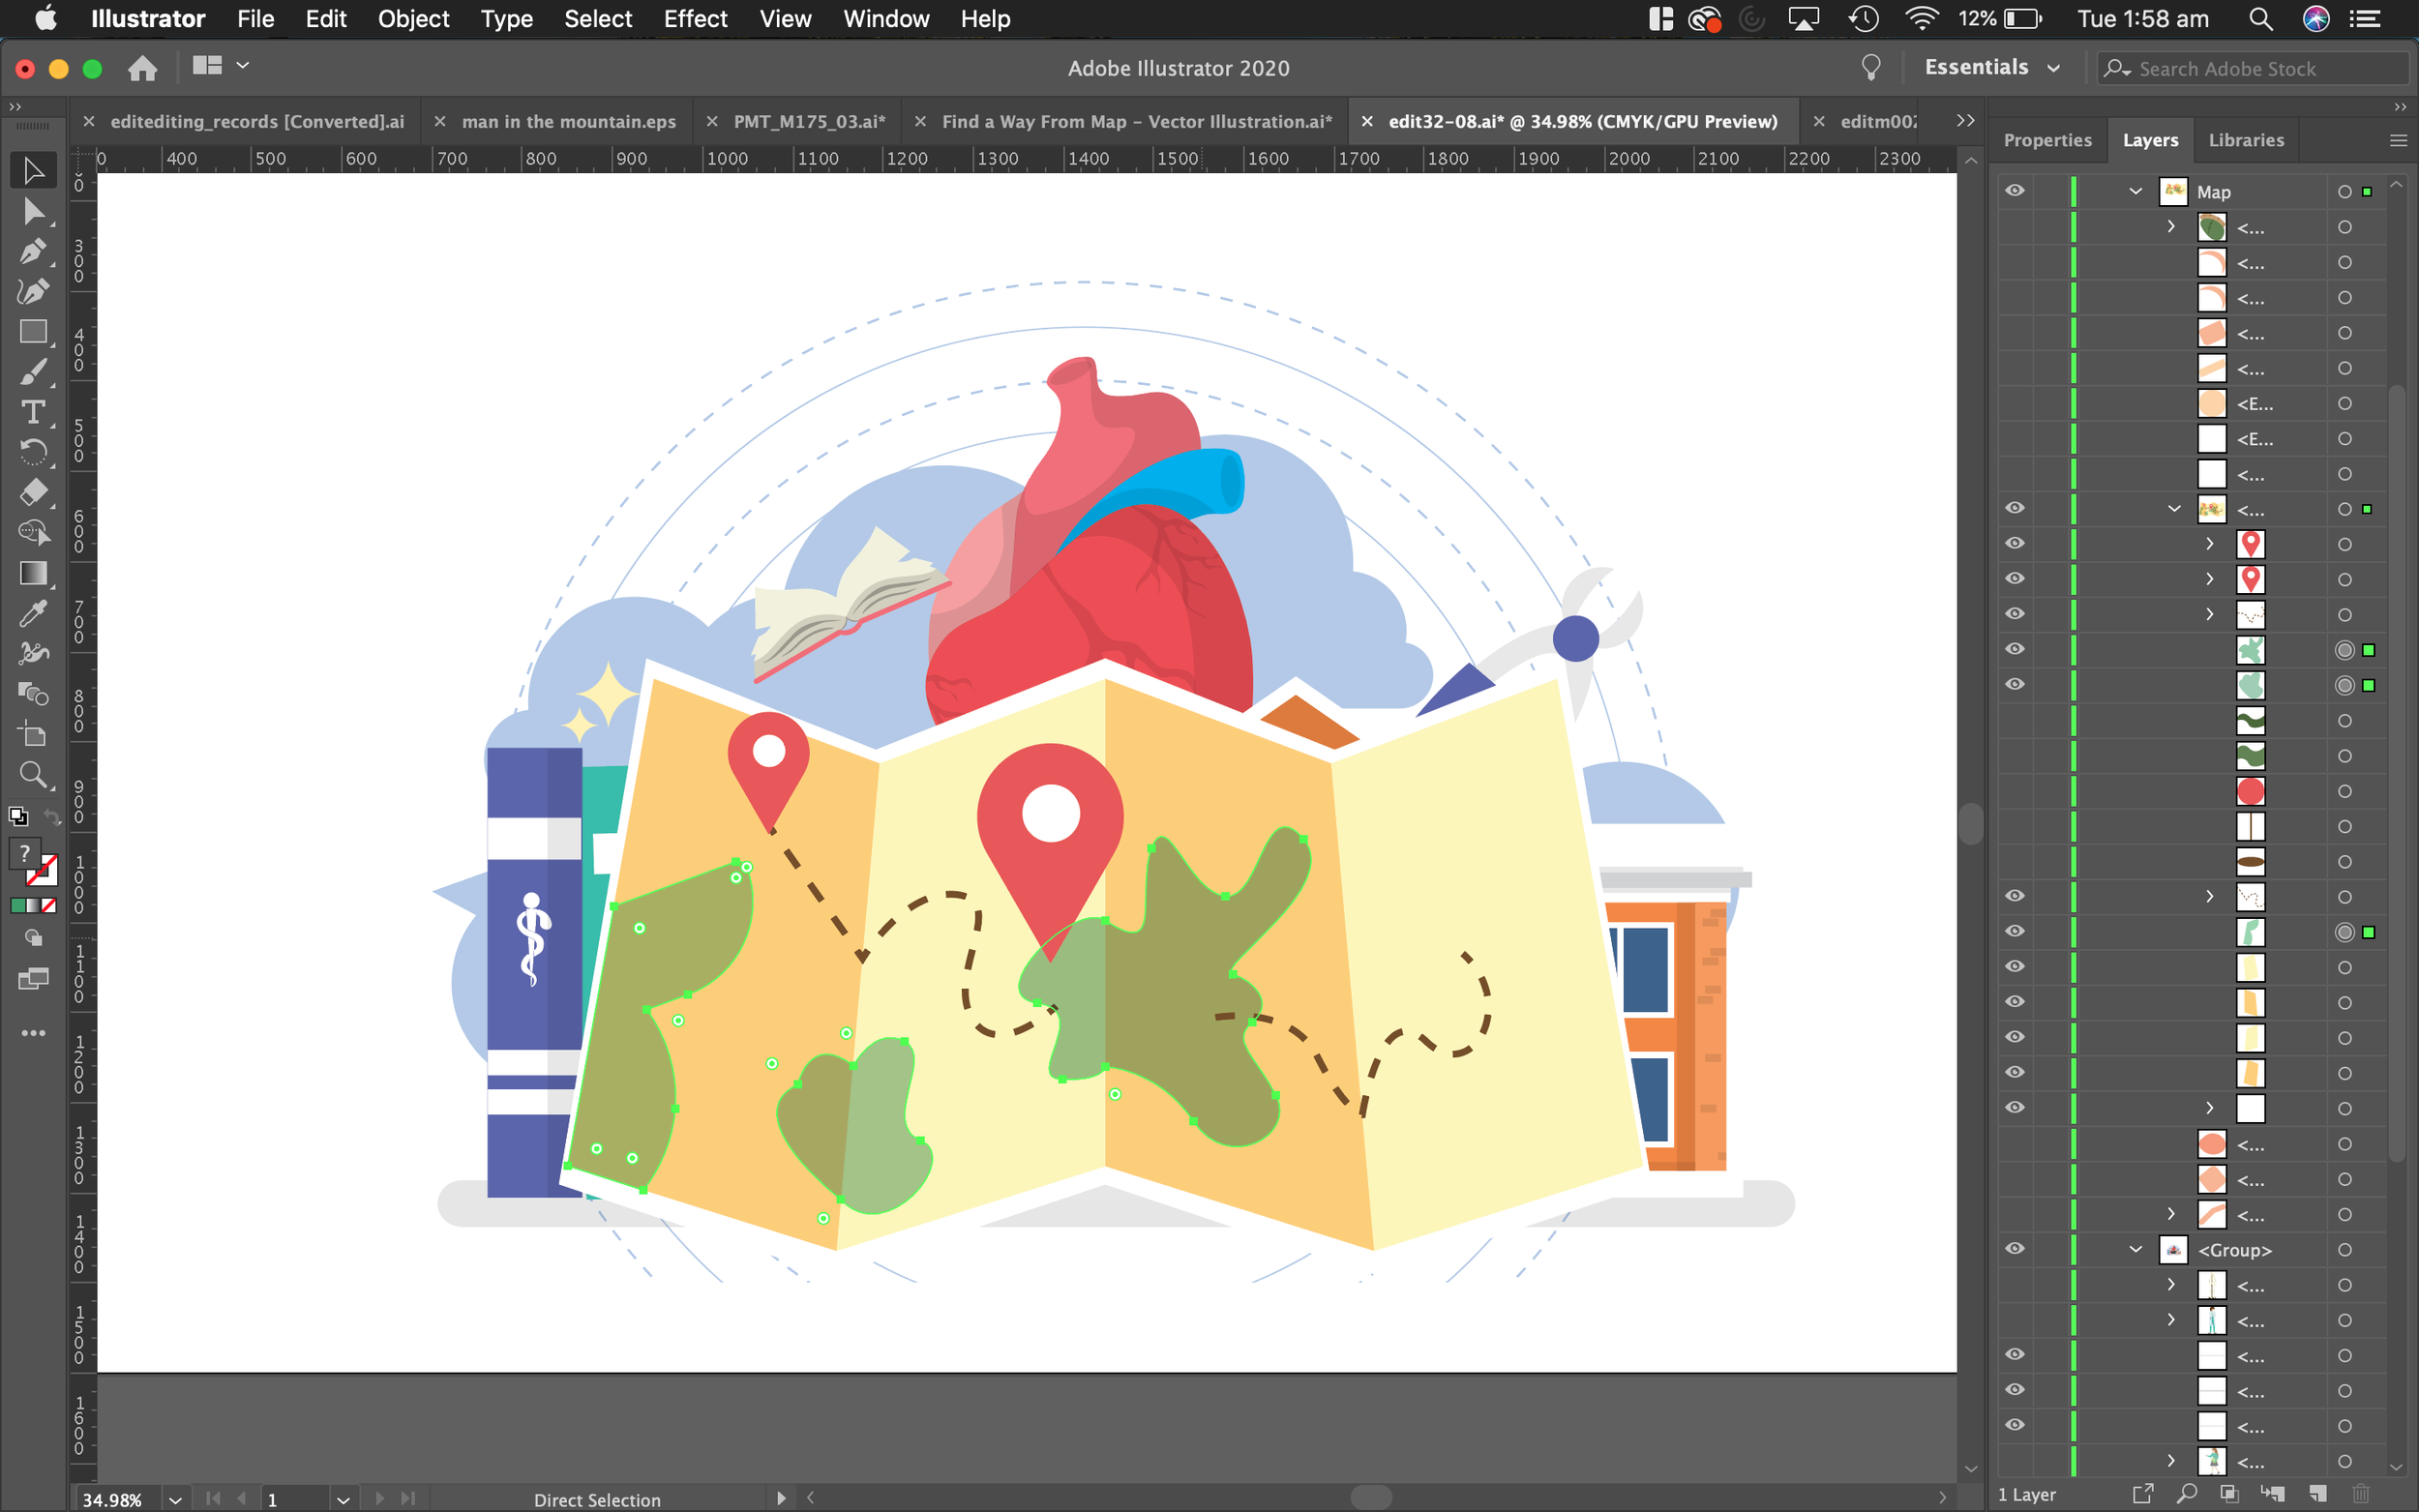

exporting as .png file
And, lastly, we have our final image! It has worked best for me to export it as a .png file with a transparent background, that way it looks nice overlaying any textured background I might use on this website or in a future video.
