How To Take Website-Worthy Photos With Just Your Phone Camera

In this post I’ll share a few behind-the-scenes photos on the mini “photo-shoot” I had in my living room to capture the book covers for my blog posts.
Tools: Here’s a list of the tools that I used:
iPhone (camera)
Coffee table
Tabletop accessories (plants, EMRA books, etc)
Stool
iPad mount
Display setup: I started by setting up the book cover display on my coffee table, and added in a couple objects (EMRA book, plants, etc) to give the images a little texture. I experimented around with this a little to find an arrangement that I liked. Here’s one of the images I snapped while experimenting:

Camera Mounting: Next, I needed a way to mount my iPhone camera so that the hieght/angle was consistent for each photo. Long story short, I stacked a wood box on top of one of my kitchen stools, and used an iPad mount to set my phone on overlooking the table.
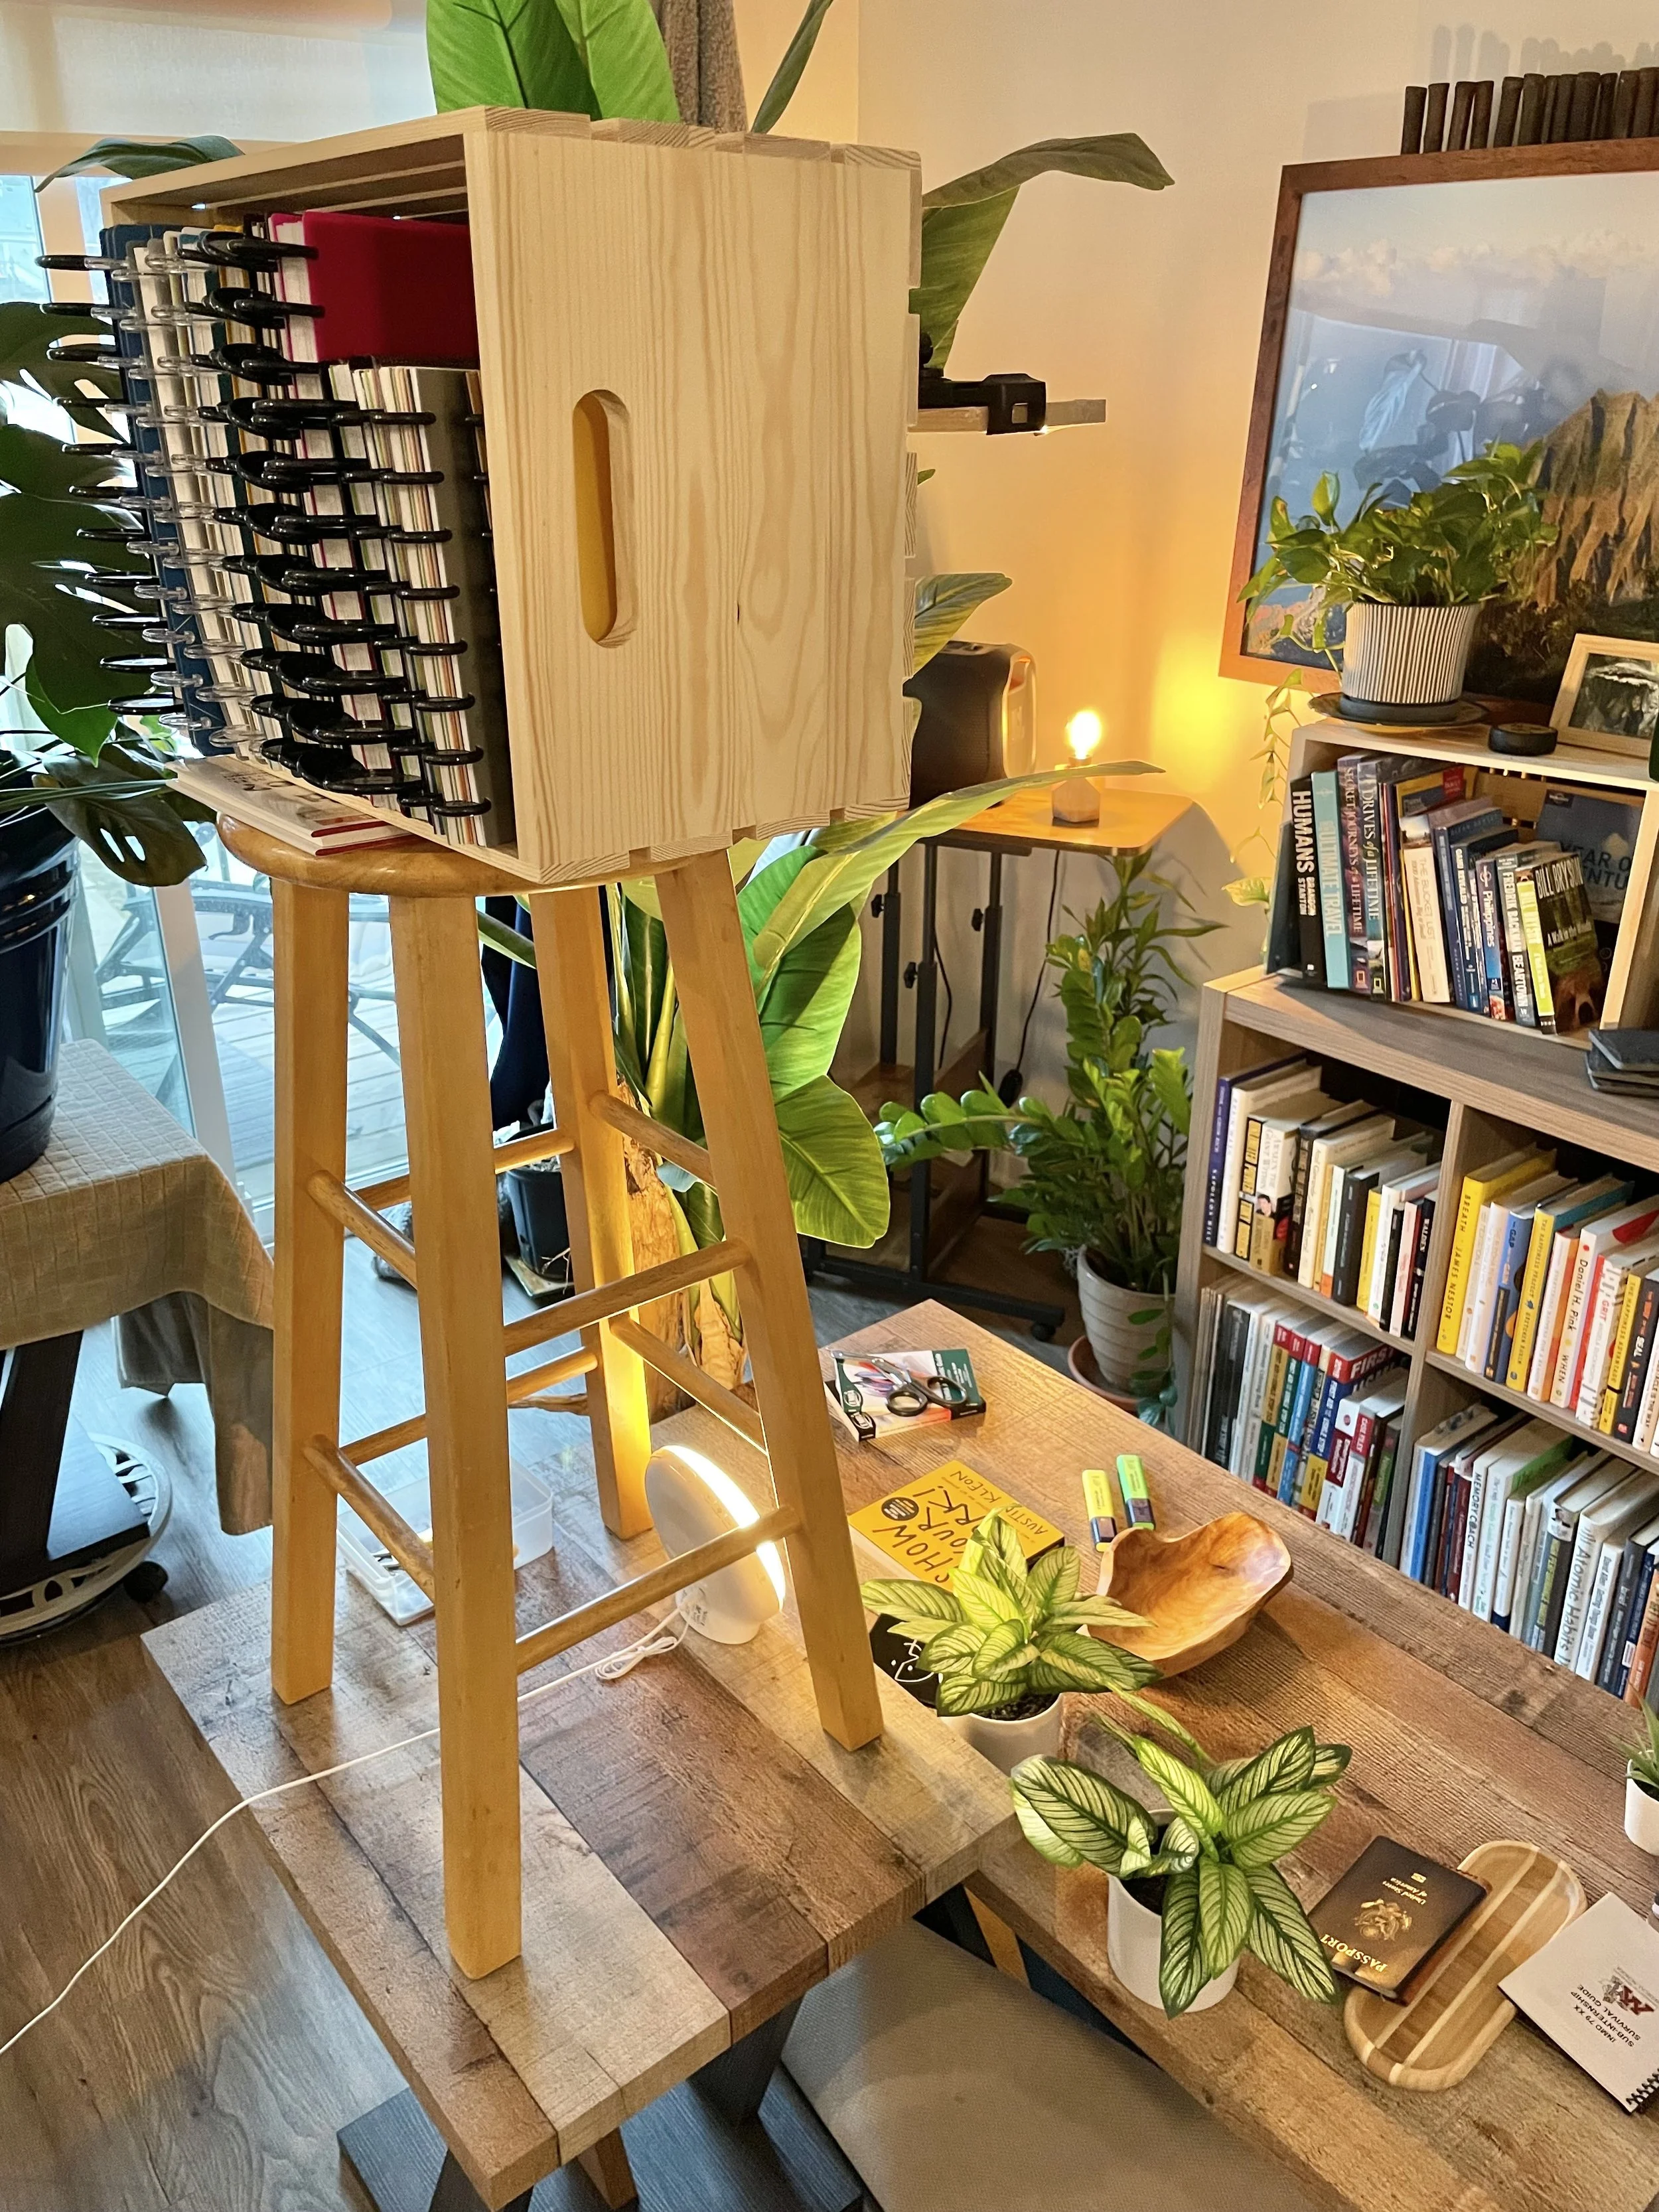
Lighting: Next I brought in some lighting (see the circular light under the stool) and played around with the angle until the lighting brought out the details of the image.

I did this for each book! And made a complete mess.
Before I knew it, my camera roll looked like this:

Photo Editing: Lastly, I go through each one and slightly adjust the exposure, color balance, and fine-tune a few other settings:

Settings: Here are the settings I use for each cover photo:
Exposure: 20
Brilliance: 20
Highlights: -15
Brightness: 5
Warmth: -10
Tint: -5
Sharpness: 5
Definition: 5
Noise reduction: 5
Final Result: Here’s the final result!
